Pre-Winter Home Maintenance Checklist for Vancouver
Get an estimate in minutes

Before Vancouver's wetter, colder weather arrives, walk the property and check the eight areas most likely to fail: roof, drainage, seals, heating, pipes, decks, alarms, and moisture.
A small exterior defect can stay quiet through summer and become obvious once Vancouver's wetter, colder weather arrives. Overflowing gutters, failed caulking, loose flashing, worn weatherstripping, or a heating problem are easier to address before persistent rain and the first cold spell.
The goal is not to turn every homeowner into a roofer, HVAC technician, or drainage specialist. It is to walk the property safely, record what has changed, and decide which maintenance items can wait, which need a planned repair, and which require prompt professional attention.
RenoFiz helps turn those observations into projects. Describe the symptom, add photos, and explain when it happens. RenoFiz can identify the likely work, ask the missing questions, prepare a structured estimate, and carry the approved scope into the right professional connection.
Quick answer: complete these checks before the wet season
Prioritize the parts of the home that keep water out, carry water away, provide heat, and protect occupants. A practical Vancouver pre-winter checklist covers:
- roof surfaces, flashing, and visible penetrations;
- gutters, downspouts, drains, and grading;
- exterior caulking, windows, and doors;
- the furnace, boiler, heat pump, or other heating system;
- outdoor taps and vulnerable pipes;
- decks, steps, railings, and exterior lighting;
- smoke and carbon monoxide alarms; and
- indoor moisture, condensation, and early leak signs.
Start with a visual inspection from the ground and accessible interior spaces. Do not climb onto a wet or steep roof, open electrical equipment, service fuel-burning appliances, or enter an unsafe attic or crawlspace. Those tasks belong with the appropriate professional.
1. Inspect the roof without walking on it
From the ground, a window, or another safe location, look for missing or shifted shingles, damaged roof edges, loose metal flashing, debris collecting in valleys, and anything unusual around vents or chimneys. Inside the attic or top floor, if safely accessible, check for new staining, damp insulation, musty odours, or daylight where it should not be visible.
One ceiling stain does not identify the source. Water may travel along framing before it appears indoors. Record the location, photograph the surrounding area, and note whether the stain changes after rain. A roofer or qualified renovation professional can then inspect the roof covering, flashing, penetrations, and nearby assemblies instead of treating only the visible patch.
Arrange prompt help if water is actively entering, roofing material is loose after a storm, the ceiling is sagging, or electrical fixtures are wet. Move people away from the affected area and use emergency services or the appropriate urgent trade when there is an immediate safety risk.
2. Clear gutters and confirm where downspouts discharge
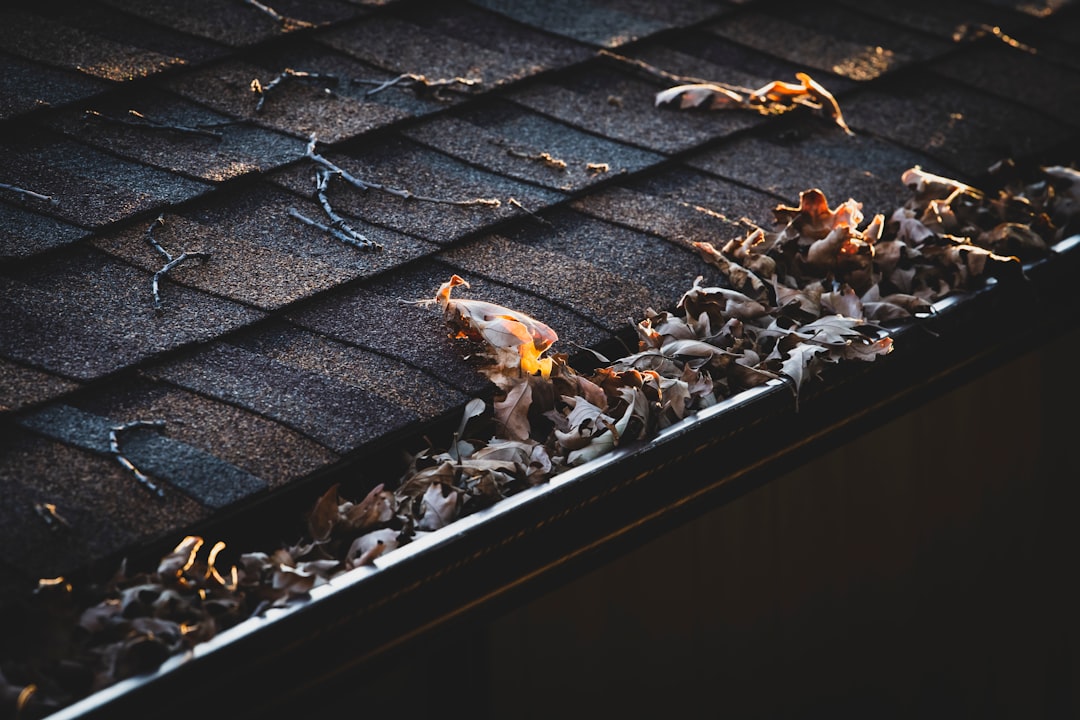
Leaves and debris can restrict gutters just as rainfall increases. From the ground, look for plants growing in gutters, staining below the eaves, loose sections, water marks behind downspouts, and erosion where water reaches the ground. During a normal rain, observe whether water flows through the downspouts or spills over the edge.
Downspouts should direct water to the intended drainage point rather than dumping it against the foundation, onto a walkway, or toward a neighbouring property. Also clear reachable surface drains and check that soil and hard surfaces do not obviously slope water toward the house. Do not disconnect or reroute drainage without understanding the property's system and local requirements.
The City of Vancouver explains that the property's sewer connection can include a chamber that collects rainwater from gutters and drain tiles. If water backs up, pools repeatedly, or appears near the foundation, a drainage professional may need to inspect the connection, perimeter drainage, or grading.
City of Vancouver: Find your water or sewer connection
3. Check windows, doors, and exterior seals
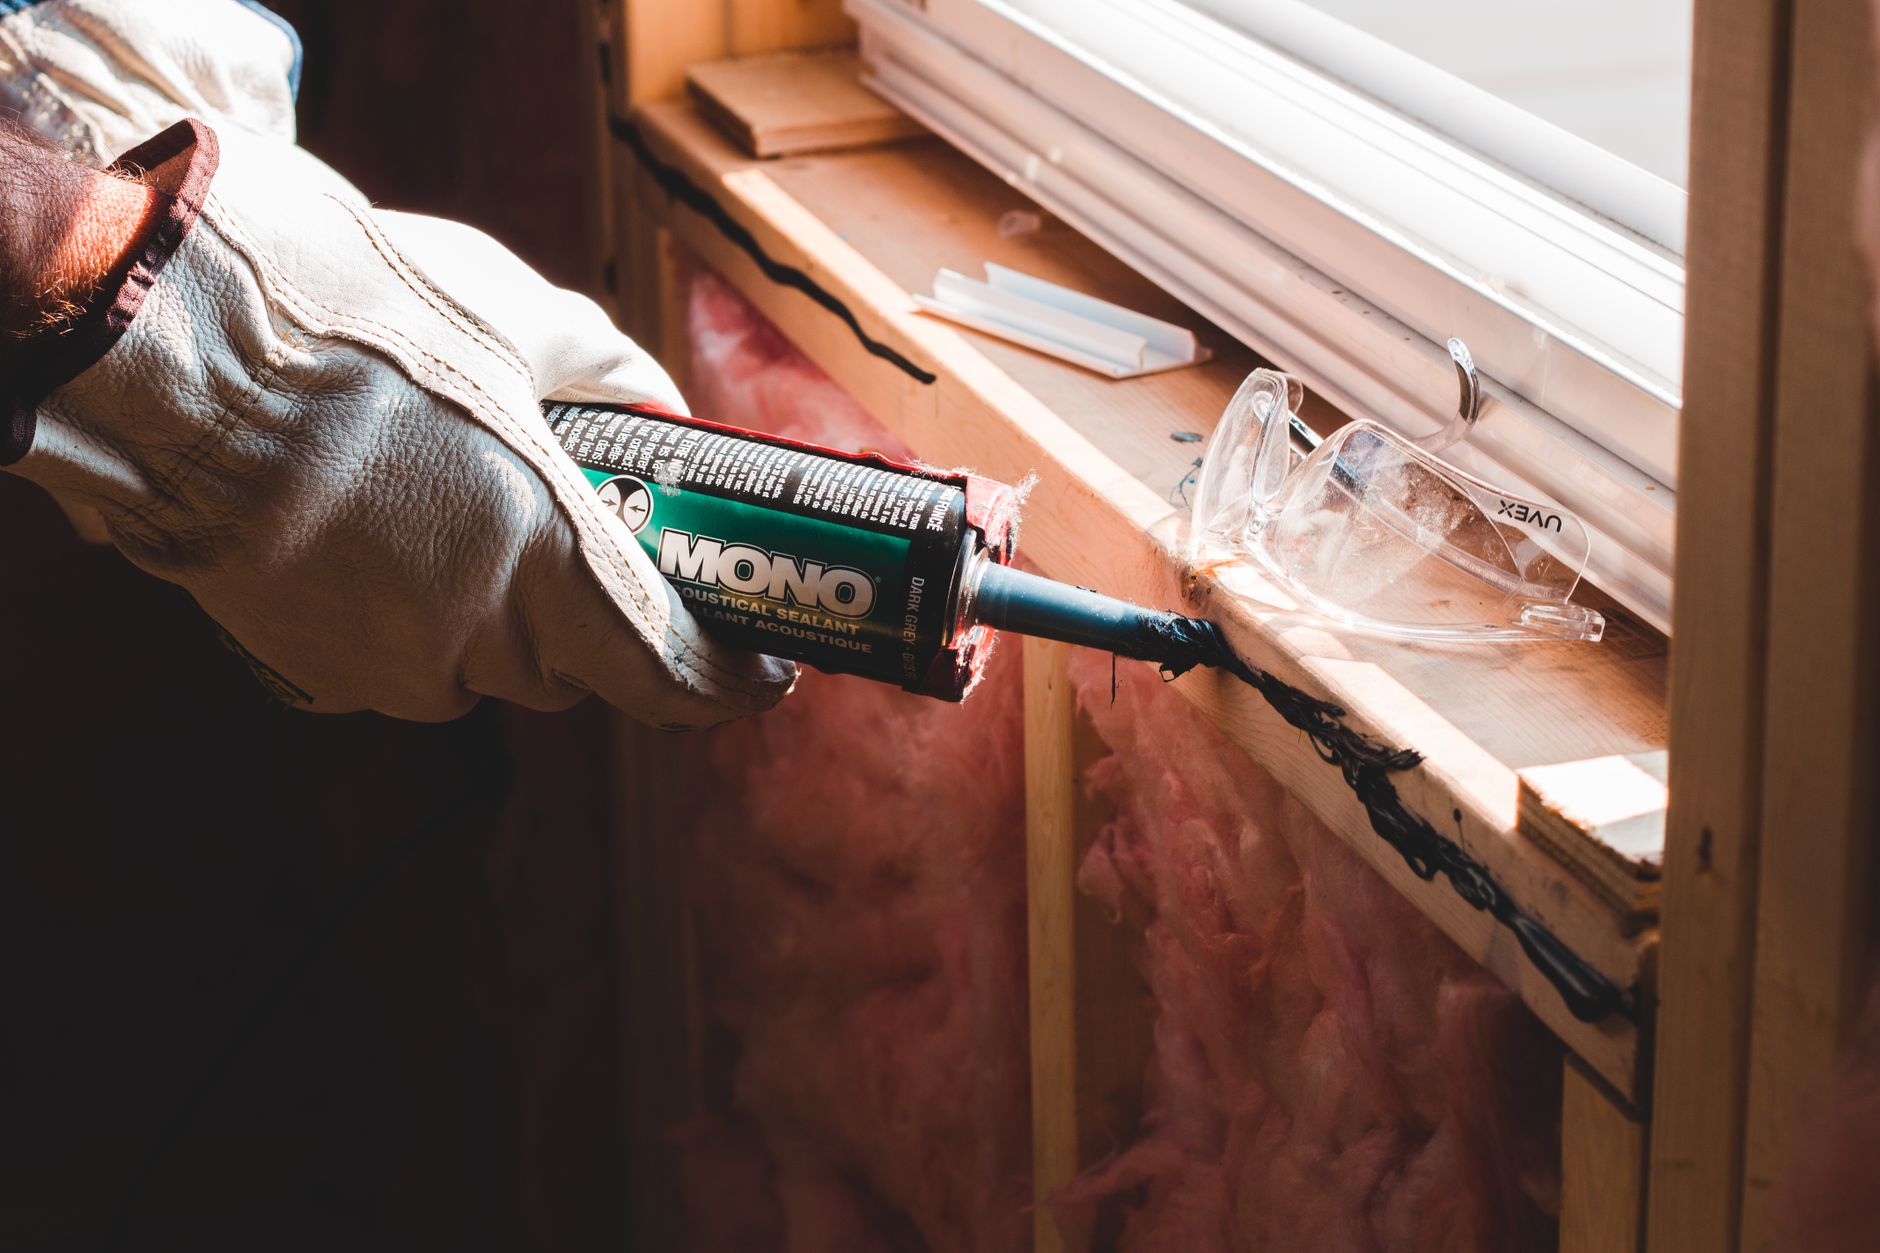
Inspect caulking around windows, doors, exterior trim, vents, and other wall penetrations. Look for gaps, cracks, separated sealant, soft trim, peeling paint, or staining below corners. Indoors, check for drafts, water marks, and condensation patterns.
A visible gap may need fresh sealant, but repeated staining or soft material can indicate a larger water-management problem. Repeatedly caulking the surface without identifying the path may trap moisture or delay the proper repair. Photograph both the exterior and interior sides and note whether the issue appears during wind-driven rain.
Check door sweeps and weatherstripping by closing the door and looking for uneven contact or visible light. Replacing worn weatherstripping can be a small maintenance job. Rot, movement, or water entering around the frame may require carpentry, cladding, or flashing work instead.
4. Test the heating system before you depend on it
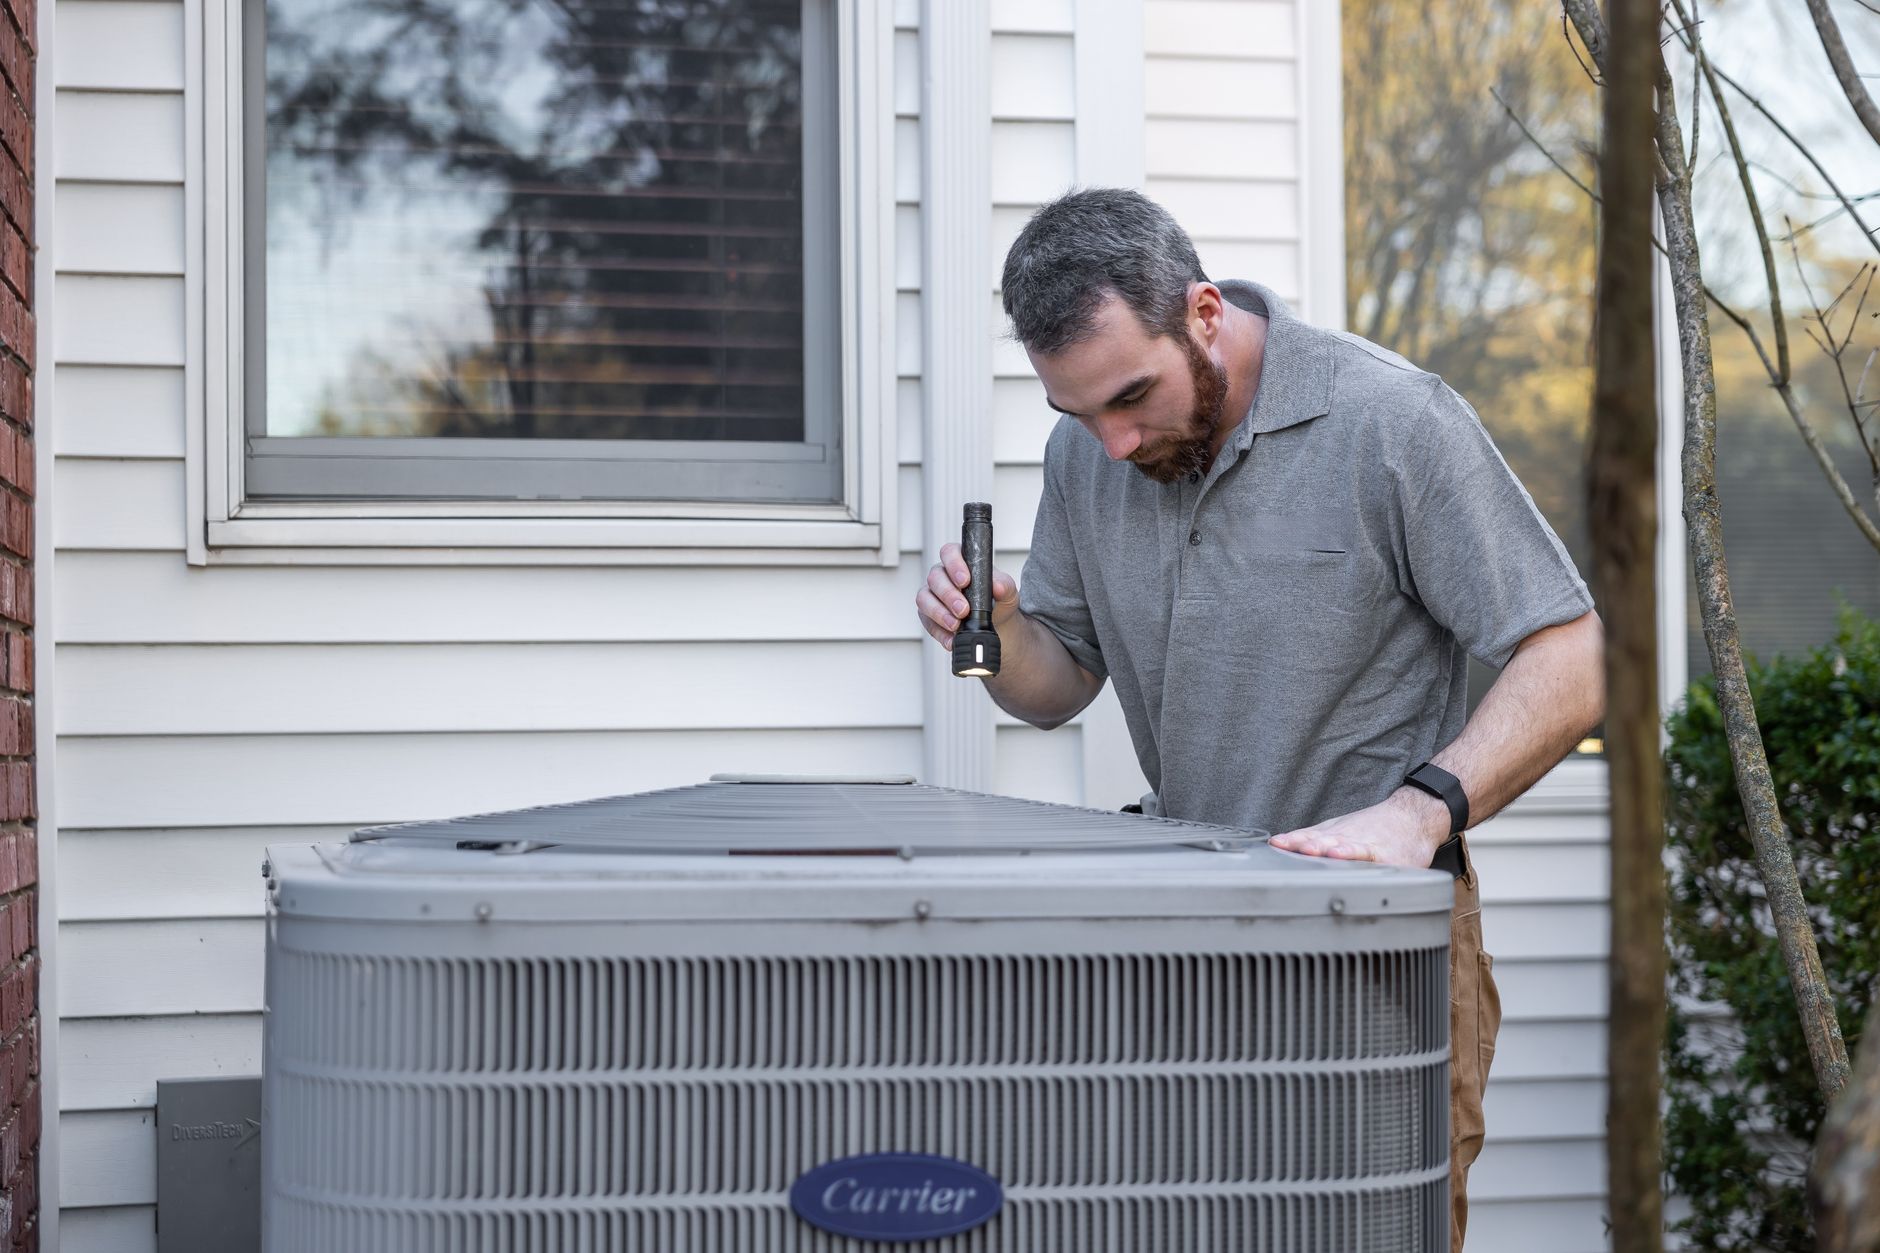
Turn the heating system on before the first cold day and confirm that it starts, distributes heat, and reaches the expected rooms. Listen for new noises and note unusual smells, repeated shutdowns, error codes, weak airflow, or rooms that remain cold. Replace or clean accessible filters only according to the manufacturer's instructions.
Do not open sealed equipment, adjust gas components, bypass safety controls, or attempt electrical repairs. Furnaces, boilers, heat pumps, fireplaces, and baseboard systems require different expertise. If the system has not been serviced as recommended by its manufacturer, or if it shows a fault, arrange an assessment with the appropriate HVAC, gas, or electrical professional.
A useful project description includes the equipment type, approximate age, model information, error messages, when the problem began, and whether every room is affected. That is more actionable than simply asking for a "furnace tune-up."
5. Protect outdoor taps and watch vulnerable pipes
Disconnect garden hoses so water is not trapped against the outdoor tap. Follow the home's system instructions for shutting off or draining exterior lines when required. Check the tap and nearby wall for drips, damaged seals, or past freeze damage.
Inside, identify pipes in unheated garages, crawlspaces, exterior walls, or other cold areas. Do not wrap pipes with improvised materials around unsafe heat sources. If insulation, heat cable, or rerouting is being considered, have the assembly reviewed so the solution matches the pipe, location, electrical requirements, and manufacturer instructions.
A slow leak near an exterior wall can look like condensation. Record when moisture appears and whether it changes with water use, outdoor temperature, or rainfall. Those details help distinguish plumbing, envelope, and ventilation questions.
6. Inspect decks, stairs, railings, and exterior lighting
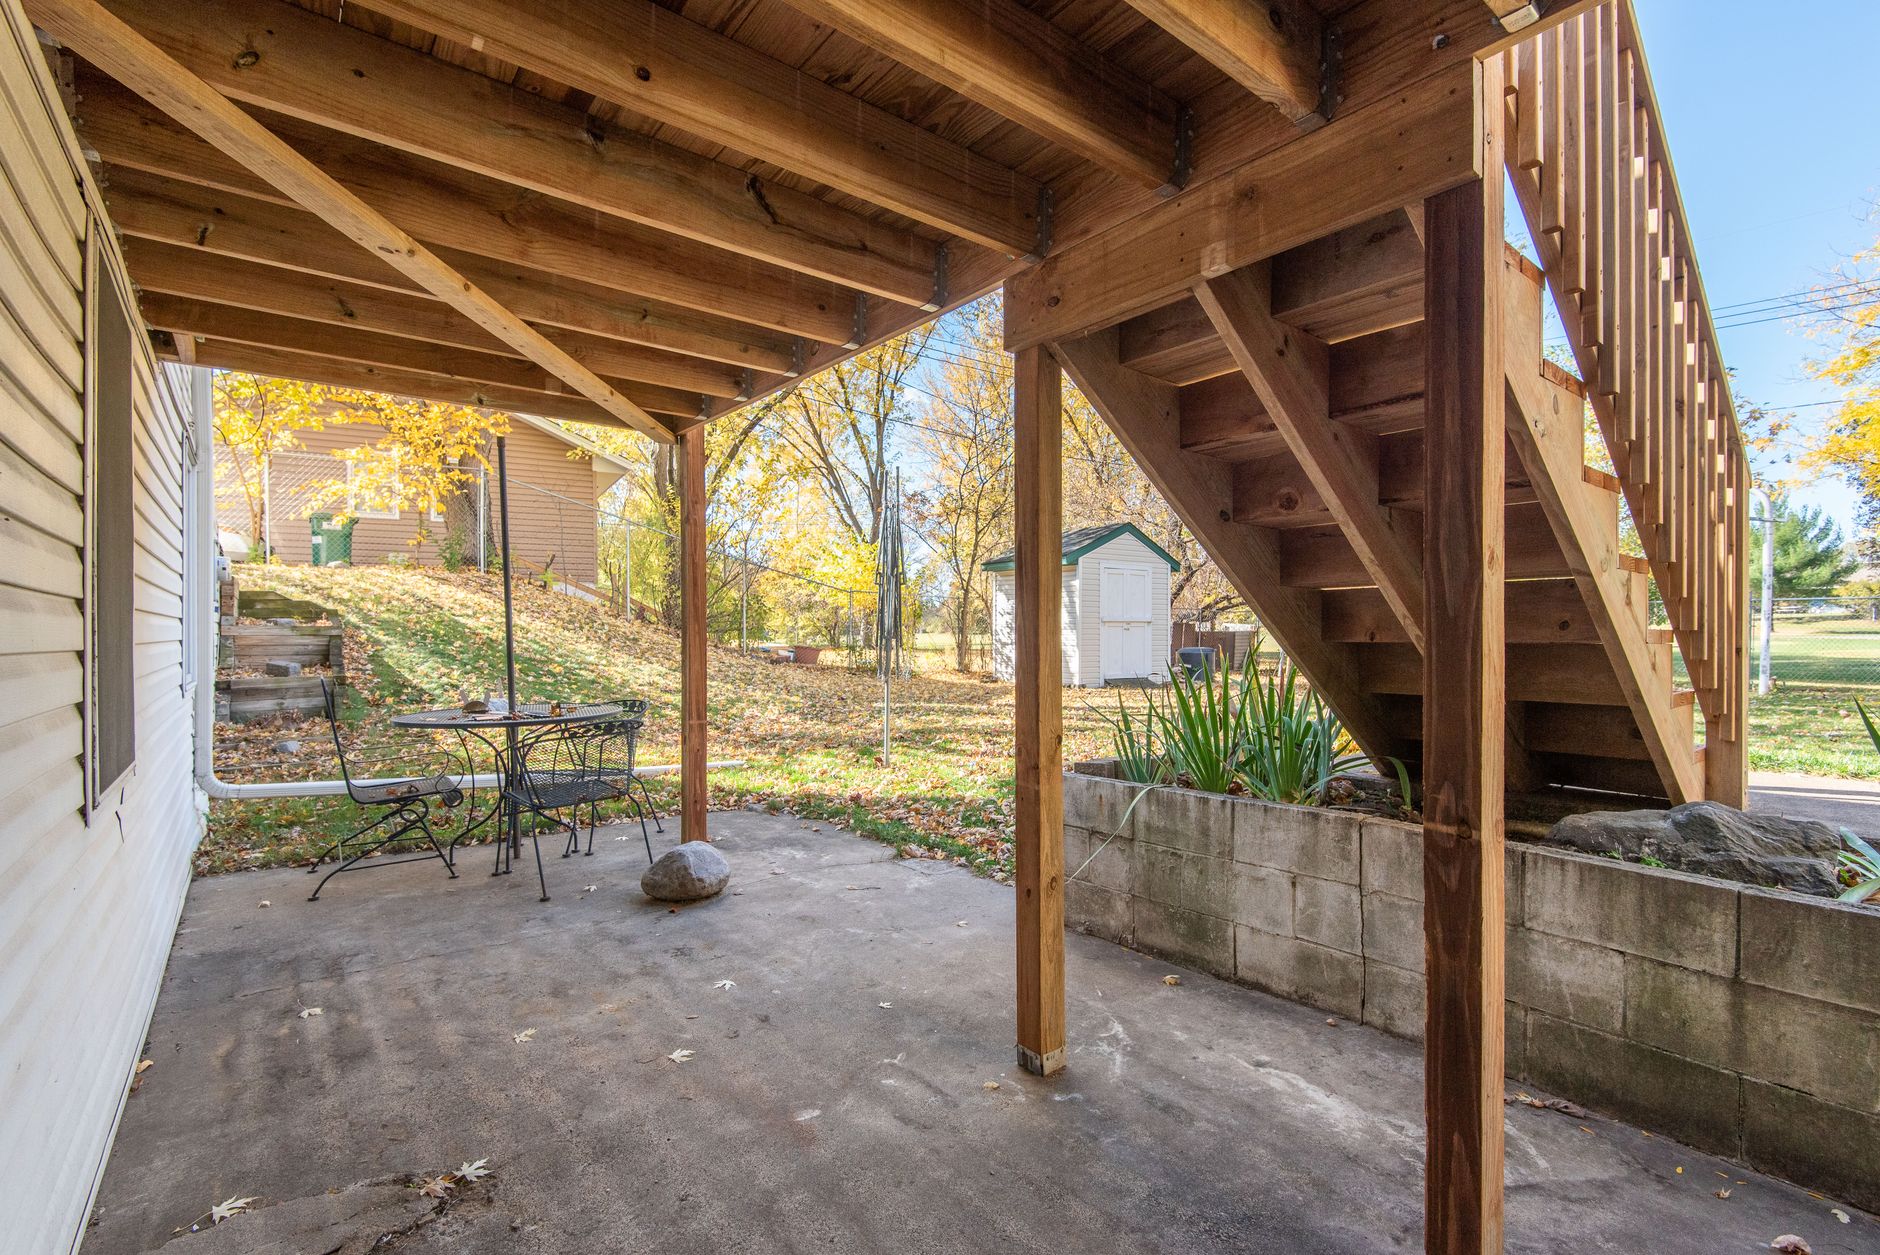
Wet leaves and low light make existing defects harder to ignore. Clear organic debris from walking surfaces and look for loose boards, movement at railings, damaged stair nosings, unstable handrails, rotting wood, and areas where water ponds. Test exterior lights from a safe location and replace accessible lamps only when the fixture and power supply are in good condition.
Do not rely on paint or stain to repair decay. A soft board, loose guard, or moving stair needs a structural repair, not a cosmetic coating. Restrict access if a walking surface or guard feels unsafe.
For wood surfaces that are otherwise sound, cleaning and coating must follow suitable weather and product conditions. If the seasonal window has passed, prioritize safe temporary protection and schedule the full maintenance work when proper application conditions return.
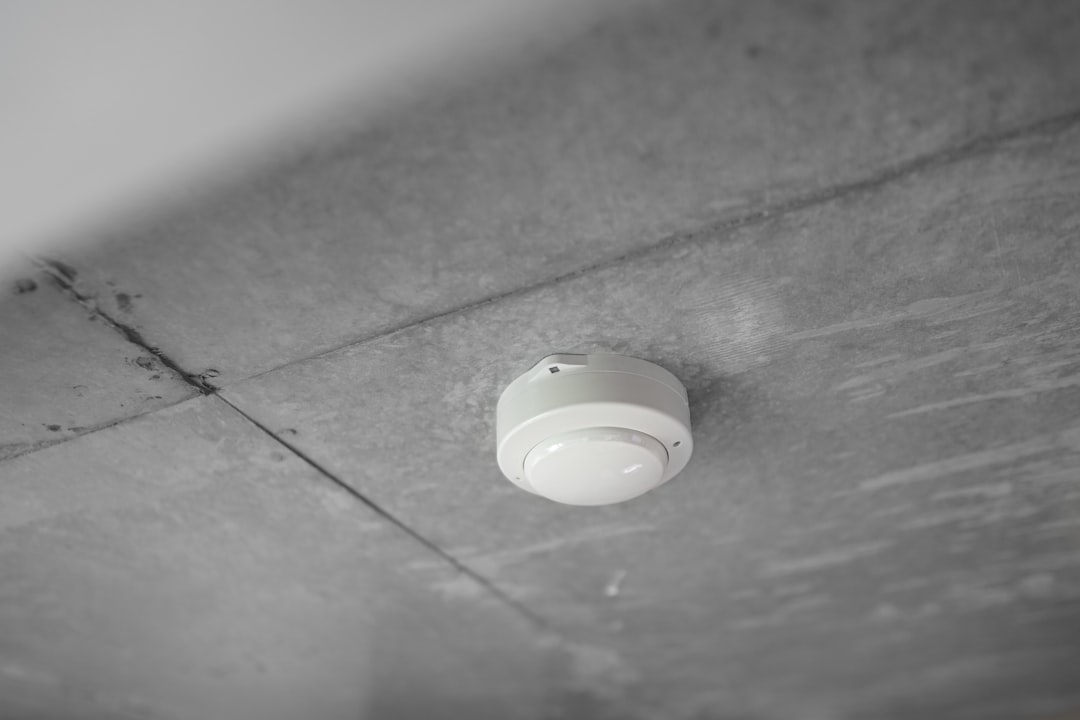
7. Test smoke and carbon monoxide alarms
Use each alarm's test function and follow its manufacturer instructions for batteries, cleaning, replacement date, and end-of-life signals. Do not paint over alarms or disable one because it chirps. Investigate the alert and replace expired or faulty units with suitable devices.
The City of Vancouver advises installing smoke alarms on each level of the home, including the basement, and recommends consideration of alarms inside bedrooms. Its guidance also says to test alarms monthly and replace smoke alarms every 10 years. Carbon monoxide alarm requirements and locations depend on the home and fuel-burning equipment.
City of Vancouver: Smoke alarms
City of Vancouver: Carbon monoxide alarms
If an alarm sounds and you suspect fire or carbon monoxide, leave the building and call emergency services. A maintenance checklist is not a substitute for an emergency response.
8. Track indoor condensation, stains, and musty odours
Check around windows, exterior corners, bathroom ceilings, under sinks, around laundry equipment, and below roof or plumbing penetrations. Look for new stains, swollen materials, peeling finishes, recurring condensation, or musty odours.
Moisture on a window may reflect indoor humidity, cold glazing, limited airflow, or an envelope issue. A ceiling stain may come from roofing, plumbing, or condensation. Photos and timing help organize the question, but concealed conditions still require on-site investigation. Do not paint over mould or staining before the moisture source is understood.
Use bathroom and kitchen exhaust systems as intended and keep furniture from blocking heating and airflow. If moisture is persistent, materials are damaged, or mould is extensive, involve the appropriate building, ventilation, plumbing, or remediation professional.
Turn the checklist into a short, prioritized project list
After the walk-through, sort observations into three groups:
- Monitor: no active damage, but record the condition and review it after heavy rain or cold weather.
- Plan: maintenance or repair is needed, but the area is stable and safe to use while the project is organized.
- Act now: active water entry, unsafe stairs or guards, failed heating during cold weather, electrical contact with water, fuel or carbon monoxide concerns, or another immediate hazard.
Avoid sending contractors a mixed note such as "roof, furnace, gutters, and windows need work." Create one record for each symptom with its location, photos, timing, and what has already been tried. Some findings will become separate single-trade jobs. Others may share access, materials, or sequencing and belong in one coordinated project.
How RenoFiz helps organize pre-winter maintenance
RenoFiz's AI project assistant asks contractor-style questions, reviews the descriptions and photos you provide, and turns each concern into a likely scope and line-item estimate. If overflowing gutters have damaged fascia, for example, the project can separate gutter cleaning or repair from carpentry and repainting instead of treating everything as one vague task.
RenoFiz can also identify when several items need one coordinated plan. A window leak, damaged drywall, and peeling paint may require the exterior water source to be addressed before interior repairs begin. The estimate shows the sequence, assumptions, and unknowns so the homeowner can review the whole starting point.
RenoFiz is free to start. You can stop after reviewing the estimate, and no professional receives the project until you approve the baseline and ask to continue. If you move forward, the selected professional receives the same details and estimate, then confirms site conditions, final scope, schedule, and price.
The bottom line
Pre-winter maintenance is less about doing every possible task and more about finding the few conditions that could worsen with rain, wind, or cold. Start with the roof, drainage, exterior seals, heating, vulnerable pipes, walking surfaces, alarms, and indoor moisture. Record what you see without taking unsafe risks, then address urgent hazards and organize planned repairs before weather limits the options.
Start your pre-winter project list
Describe the first concern to RenoFiz and add photos if they are safe to take. RenoFiz will help clarify the likely work, create a structured estimate, and show whether the project needs one trade or a coordinated crew.
Ready to get your project moving?
Our AI assistant helps you understand the work and likely cost. If you decide to connect with a contractor, they start with your project details and estimate.